|
|
|
|
I based my track layout design on the Woodland Scenics Scenic Ridge layout. However, I tend to like continuous "roundy round" train operations, so I got rid of thesiding and added an extra loop. Full instructions for Scenic Ridge are available from Woodland Scenics.
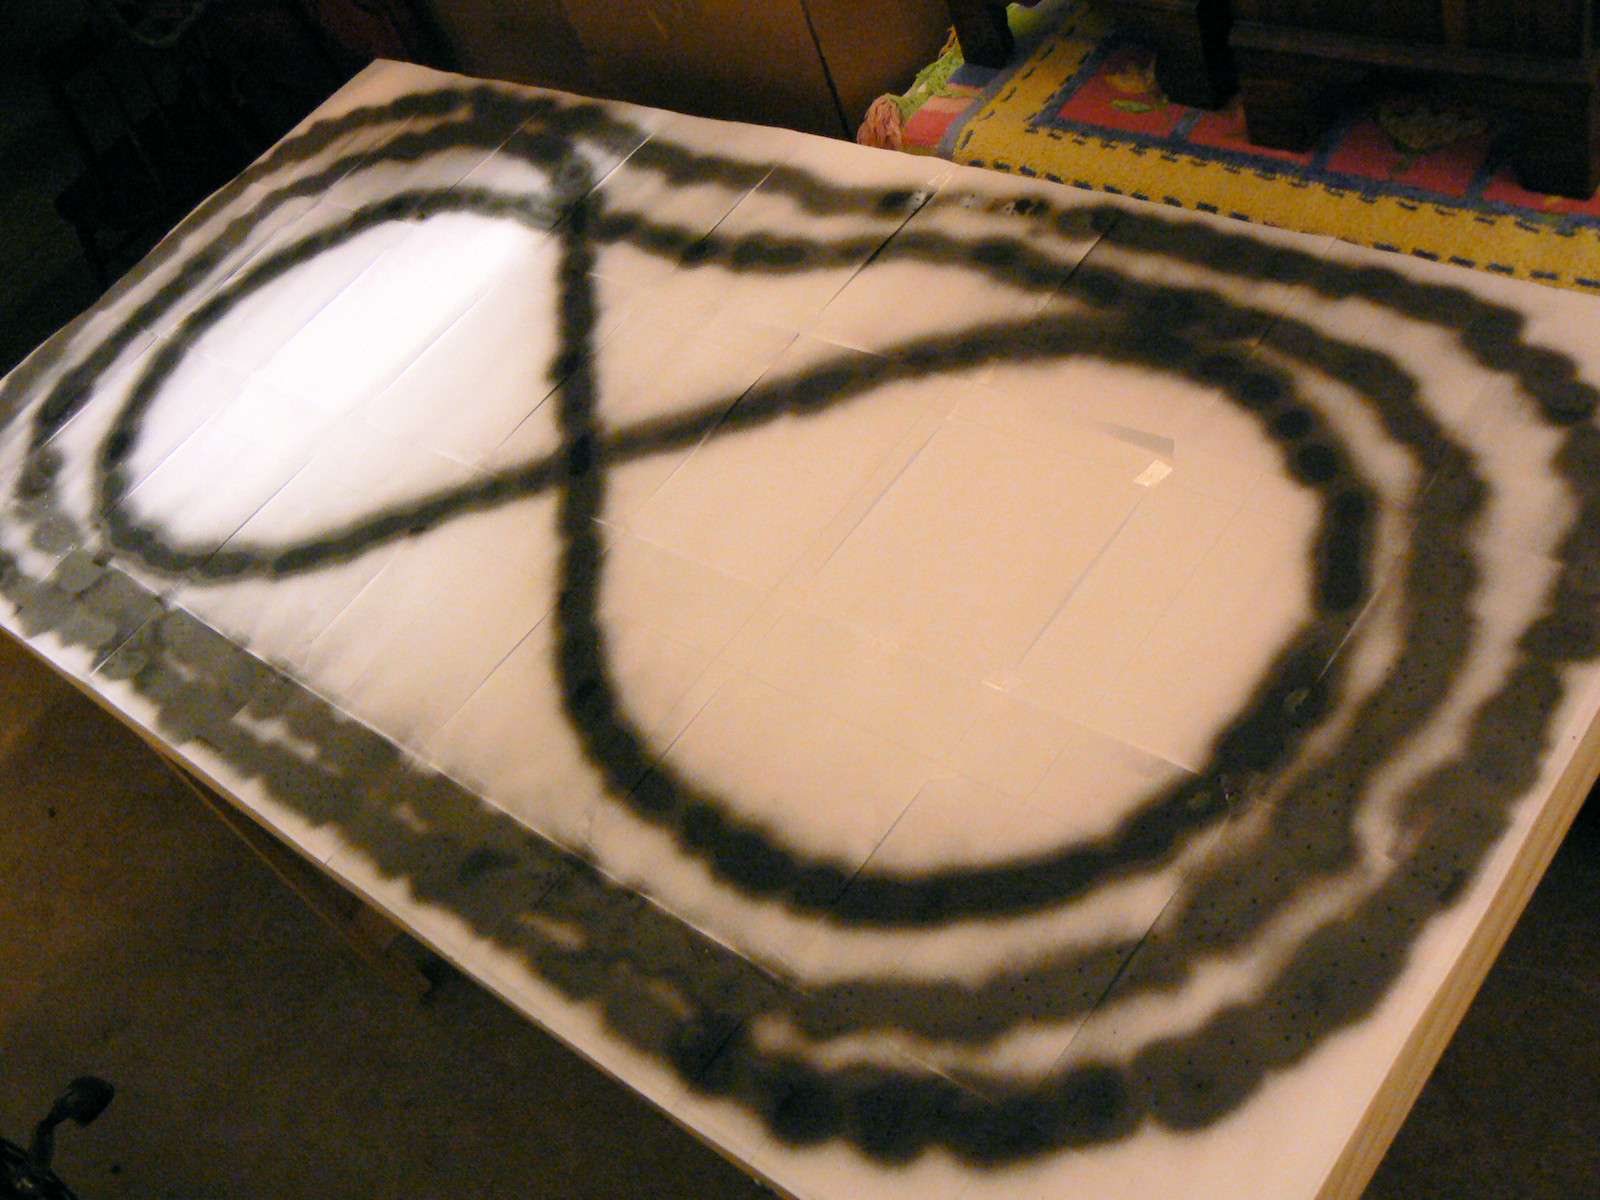
The first photo show transferring the track pattern to the table top. As a first step the wooden table top has been covered with
thin sheet of styrofoam. The Woodland Scenics kit came with this 1/2" (1 cm) thick sheet. Then I printed out the track design
to paper with about a 400 to 500 percent magnification. Hopefully your printer driver has a option like this. Tape the pattern to
the table top and puncture holes in the pattern with an awl or a small screwdriver. I then sprayed black paint on the pattern to
transfer the puncture dots to the table top.

|
|
|
As you see I put a little jog on the back wall of the outer loop. I wanted to make sure that anyone looking into the tunnel
would not see where the tunnel headed. It turns out the tunnels are so dark that I really did not need this little detail.

|
|
|
The ramps come in 1 and 2 degree slopes so the ascent and descent of the model trains is nice and even. The risers come in a few different heights, but notice that you can stack the risers to get the track really high in the air.
Styrofoam is fun to work with. You can easily cut it with a hot wire tool (which makes a nice neat cut in the foam) or long
razor knife (which can cause some foam flakes depending on how sharp your knife is).

|
|
|
Also notice some walls for a tunnel have been glued into place. I enjoy the tunnels on this layout, and I think it is one of
the fascinating features of model train layouts.You see a train enter the mountain. It disappears. You wonder where it went. Some
time later a speeding train emerges from another opening. How did it get there? Was there any trouble along the way? This layout
has three tunnels through the mountain. Loads of fun.

|
|
|
My recommendation is to layout the track, glue in the foam bed, and glue down the track all at once. Cover it with masking tape
if you are working on some messy scenery, but definitely get it down all at once and fix it into place all at once.

|
|
|
Here comes my big frustration number 2 with this layout. That gray sand you see on the track is called ballast. It simulates the rocks on a real rail road track that allow the water to drain away while providing a nice solid base for the ties and the rails. The Woodland Scenics instructions tell you to pour the sand into place. I had to use a whole lot of it to get the sand to cover the black foam track bed. Then the instructions tell you to use the misting spray bottle (supplied with the kit) fix the ballast into place with some dilute white glue. They call it scenic cement. However, my misting skills must be lacking, because as you can see I blasted the sand all over the place exposing the white and black foam. Perhaps I should have painted the bed so I could use less ballast. Finally, getting that dilute glue all over the rails is no fun to clean up. I spent many many hours cleaning the track and getting the trains to run.
I found a better alternative for the ballast was to use an eye dropper or a nalgene squeezy bottle to squirt the glue into
place. The squeezy bottle lets you carefully control the water pressure and the water placement. After laying the dry ballast, I
squirt some water and isopropyl alcohol (about 2:1 ratio)into the ballast. The alcohol breaks the water surface tension and allows
it to be easily absorbed into the ballast. Once the ballast is wet, I do a second pass with a second squeezy bottle with white
glue, water, and just a tiny bit of alcohol. The glue gets sucked down into the wet ballast and forms a rock solid mass when dry.
Other articles in the scale train series include:
Thanks for reading my articles. More train layout photos and articles will be posted in the near future.