Dan Becker's Model Trains - An N Scale Custom Bridge

Planning for a new bridge
Thanks for reading this article, part 4 of a series about N scale model train building.In the previous article about Track Preparation, Id iscussed in detail all the problems of laying out track, ballasting, and getting trainsto run. In this article I take somewhat of a sideways detour.Looking ahead in my Woodland Scenics Scenic Ridge instructions,I see that next come platforms for the town and factory spaces inside the figure 8 loops.I don't know about you, but I sense that trucks and cars going to and from the factory are going to be going up and down a steep incline over the track. I decide to dig a tunnel below the track to make the ascent to the factory much more gradual.

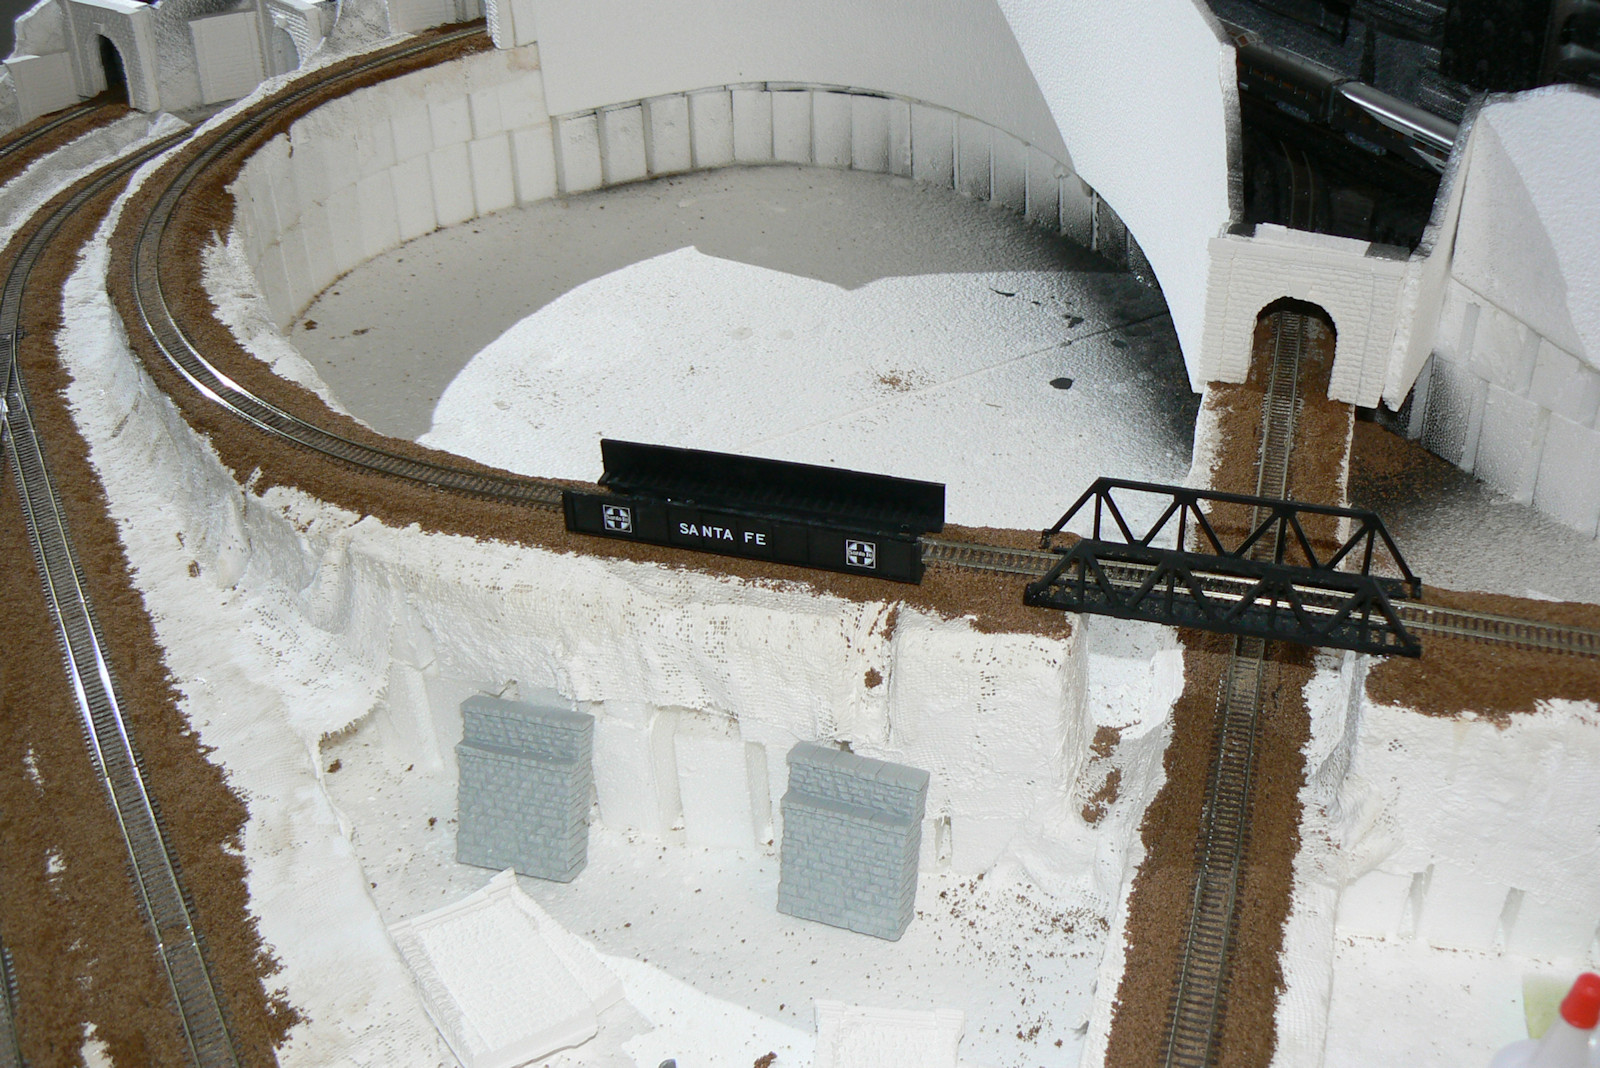
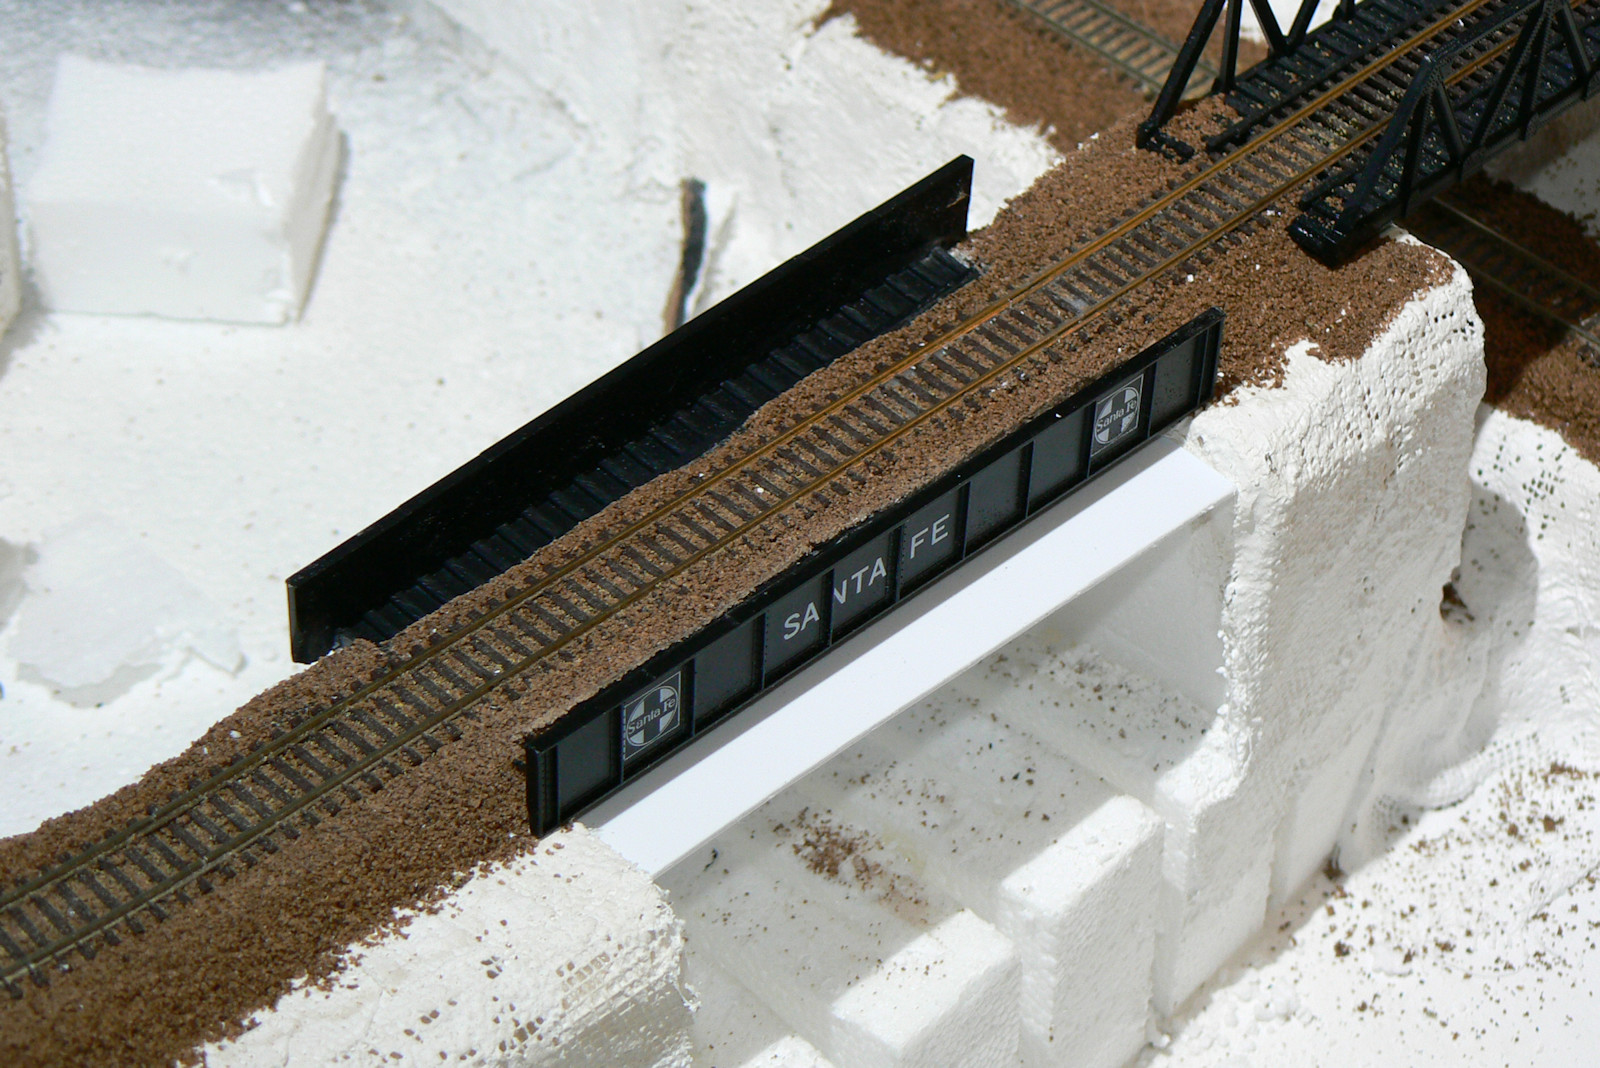
Shown at right is a black steel plate Santa Fe bridge that I will install. I think the two different bridge types right next to each other will be interesting. The stone abutments will face the tunnels and help support the weight of the 40 ton trains passing overhead.

Use a saw to cut out the tunnel
I use a combination of hot knife and razor saw with fine teeth to cut out the tunnelway.The hot knife makes a clean cut into styrofoam, but the heat is not very precise. The saw makes precise cuts but tends to shave the foam and make messy debris that sticks to everything with static charge.

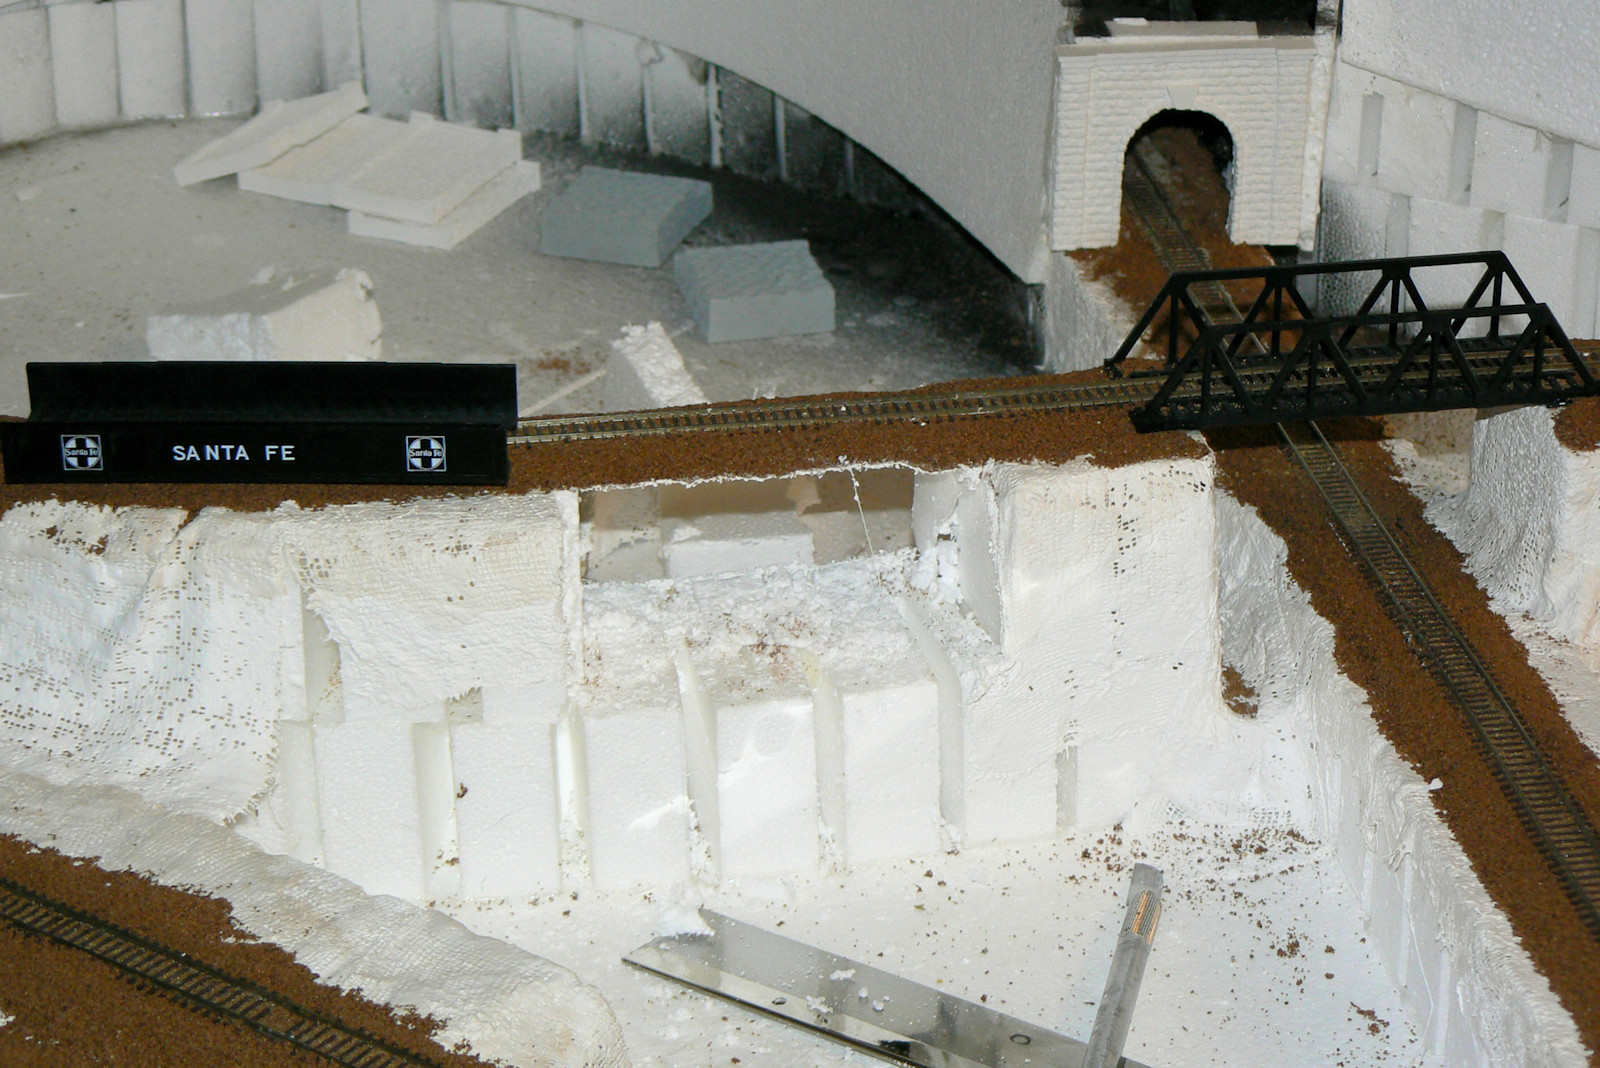
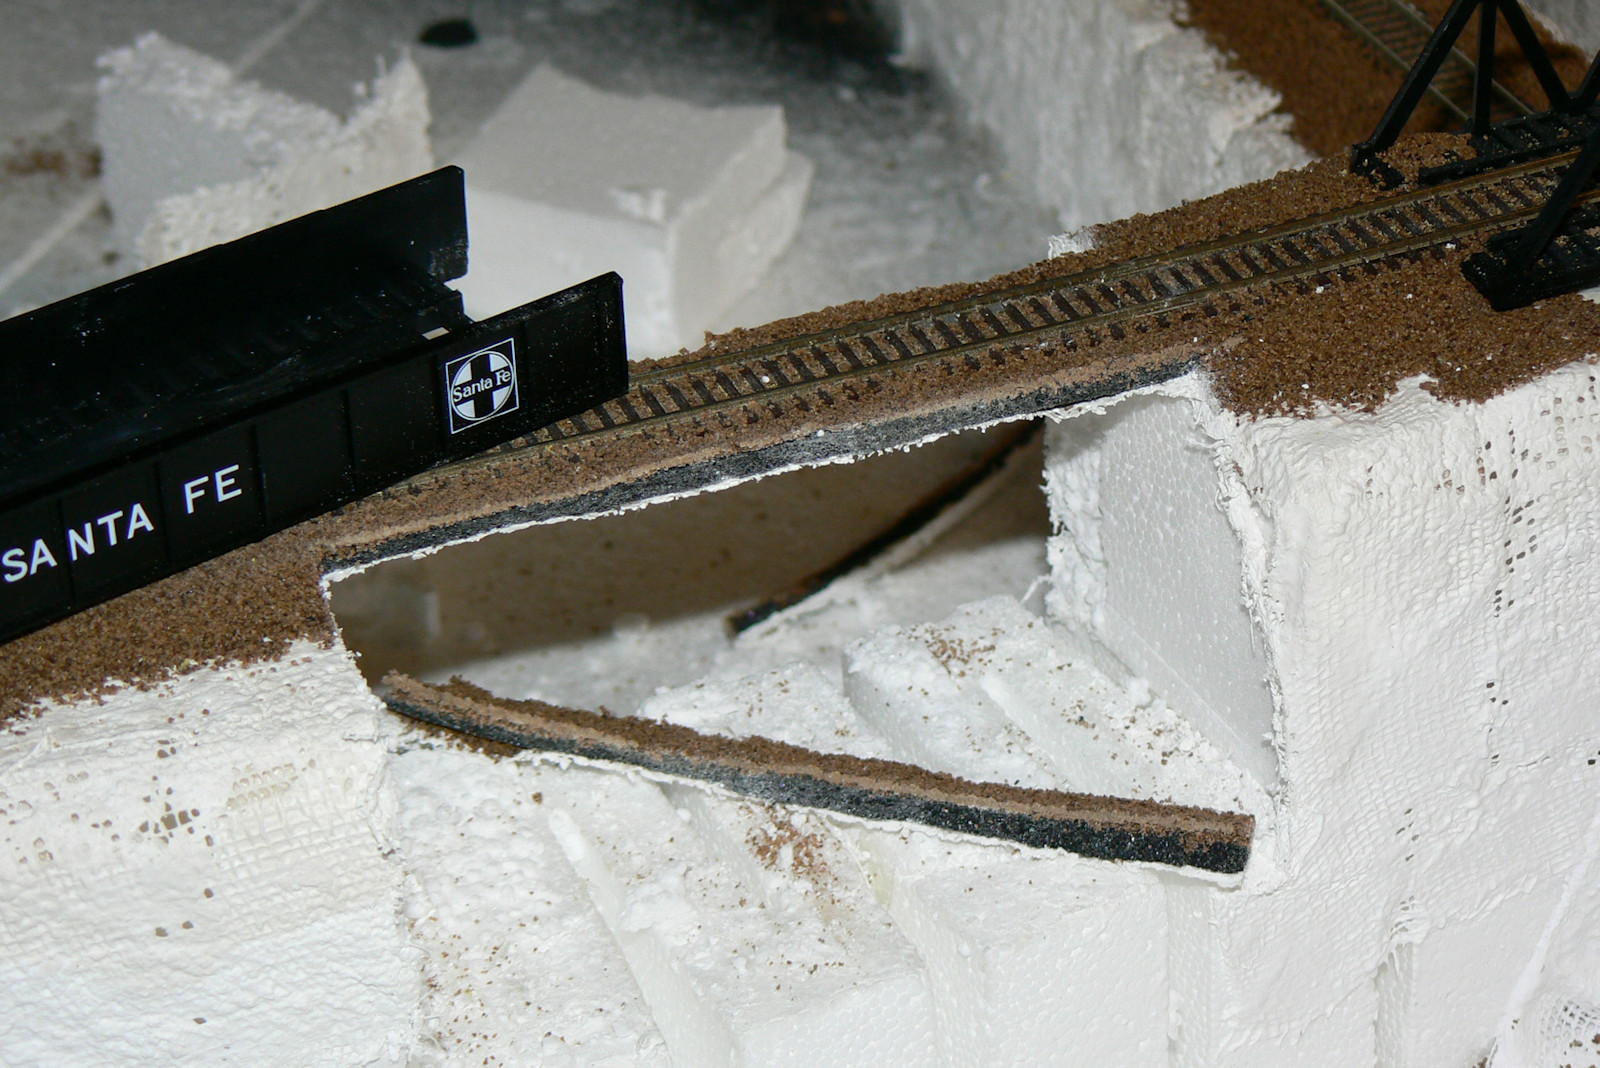
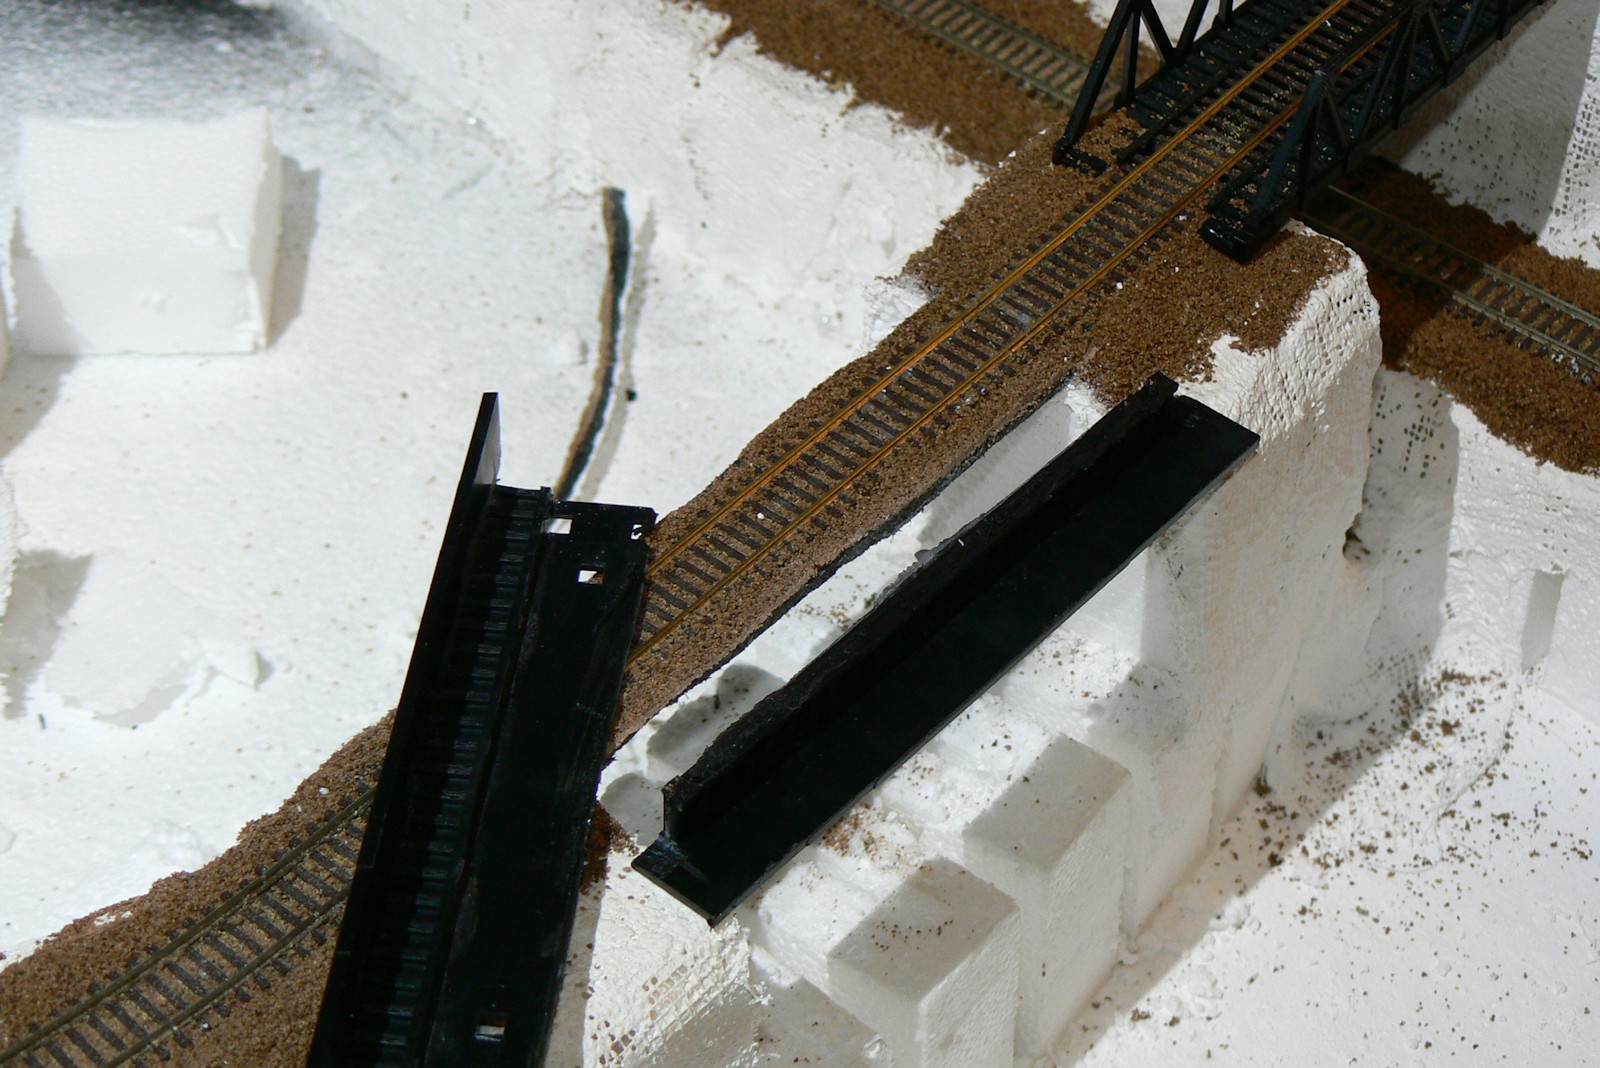
Notice that it is very easy to rip away the plaster cloth for remodelling. Also notice that the ballast and black foam bed hold the track in place with no problems.

Cut away some ballast
Here I cut away some ballast and black track foam so the width fits within the steel plate bridge.

Once again there is lots of dust from this operation. Oh well, I guess I am going to be cleaning some track once again.

Cut up the bridge
Cut up the bridge
After some cutting I realize that this track is not narrow enough to fit the bridge after all. No problem, I use a Dremel tool to cut the bridge into pieces. I throw away the bottom piece and will just keep the sides and make my own bottom support.

A train layout is kind of like an oil painting. Sometimes as it develops you come across mistakes or other problems that just won't work. What is fun is that you have to imagine your own townfolk, and what they would want, and how they would fix it. In this case, the townfolk have asked for a new tunnel to the factory.In many respects you must be like the artist Bob Ross and put your happy little trees and tunnels wherever you like.

Epoxy the bridge sides and bottom
Here I test fit the sides and make a bridge bottom from 1 mm styrene plastic. I will cut it all down to size so you do not see the bottom from above.

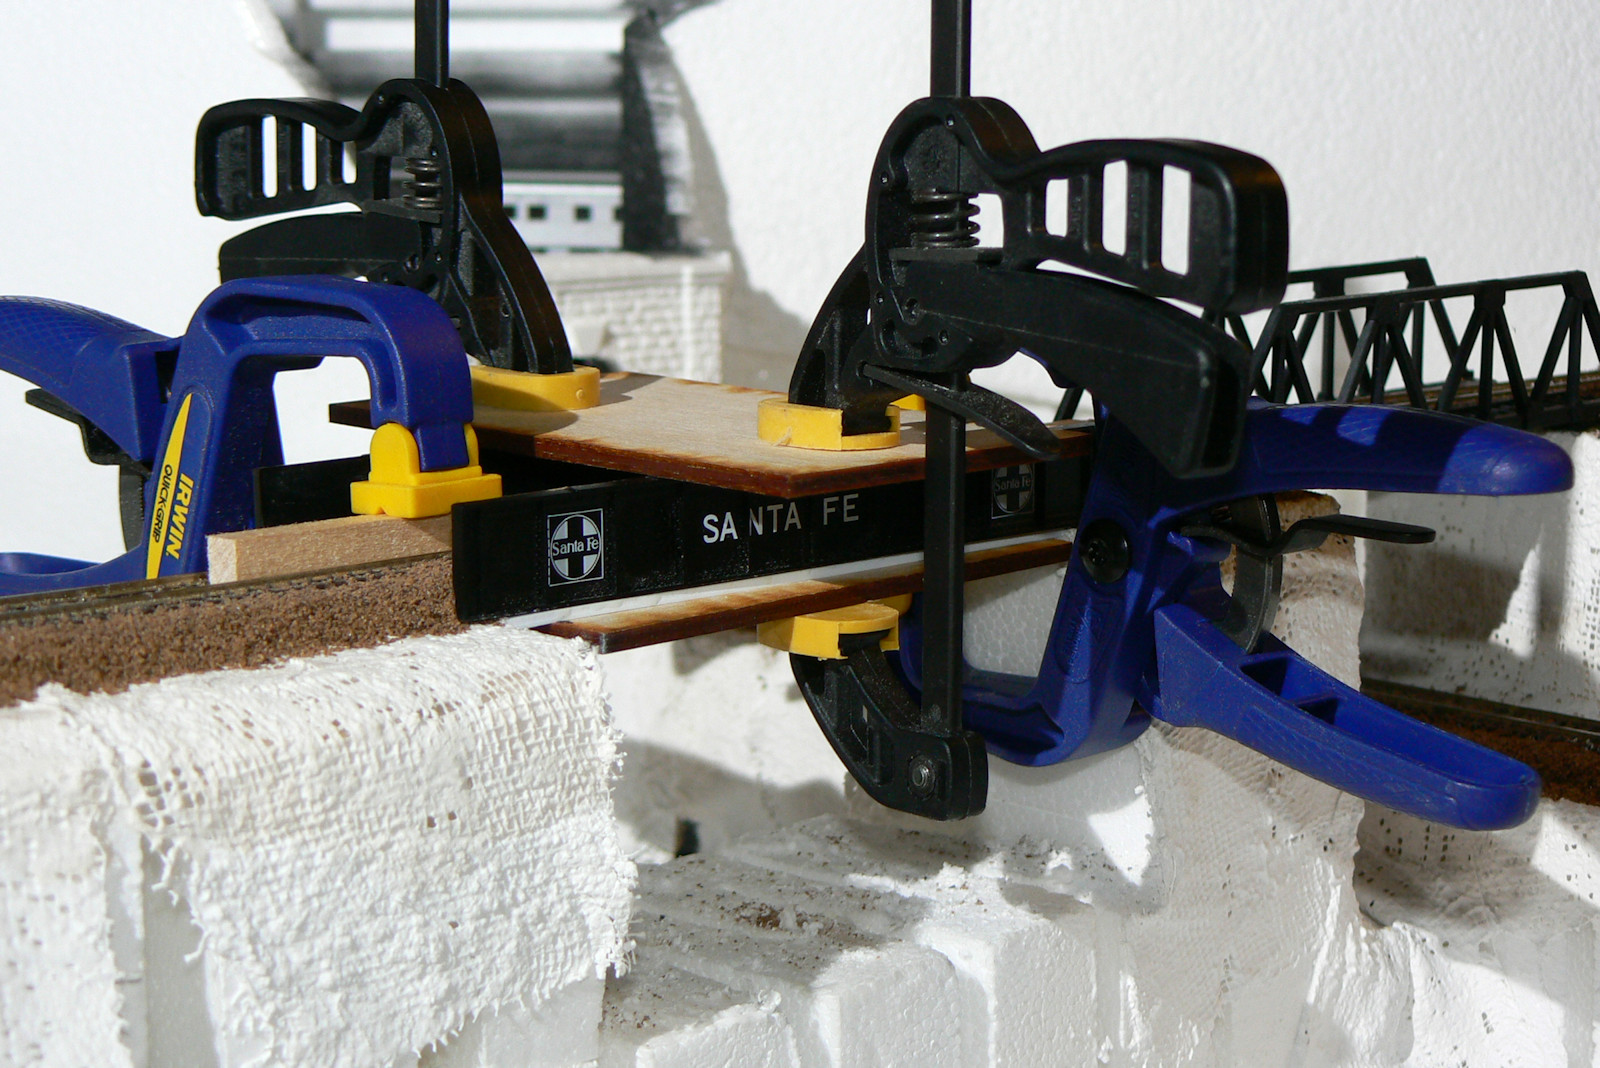
One of my favorite materials is 30 minute epoxy from Super Glue Corp. This is the company that also makes Zap a Gap cyano acrylate super glue. I like the epoxy because it is much stronger than super glue and will not weaken or embrittle over time. The 30 minute working time gives you a little time to work it, hold it, and clamp it into place. The dual syringe is perfect for dispensing the hardener and resin into a soda bottle cap for mixing the perfect amount.

Clamping the bridge into place
This photo shows all the clamps I use to ensure the epoxy locks the bridge into place.It also ensures the track remains level and the sides and the bottom fully support the track.

Sorry, I don't have a final photo with the bridge painted and the stone bridge abutments in place. You will have to search some of the subsequent photos to see the final results.

Other articles in the scale train series include:

Thanks for reading my articles. More train layout photos and articles will be posted in the near future.

Home| Top| Ale| Flight| Games| Guitars| Miniatures| MTB| Podcasts| Poophead| Trains| Tri| Other Hobbies| Weather| Feedback
Last modified: Saturday, 13-Nov-2021 09:17:05 MST.