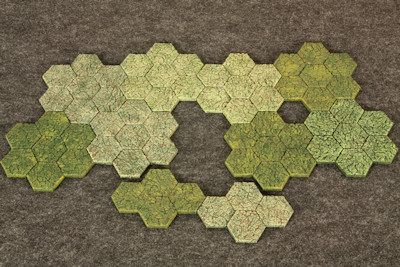
In this photo we see an overview of a battle in the grass lands. To the upper left are four adventurers with their two pack mules. If they go north, they will encounter 3 hungry hyenas. If they go south, they will encounter a pack of 6 wolves.
If they survive and head east, there are two gargoyles and a young dragon.
Beneath the hex tiles is a brown felt which represents a muddy marsh. Walking into these hexes halves movement.
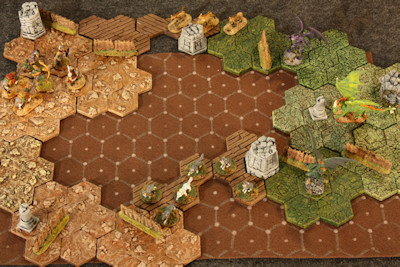
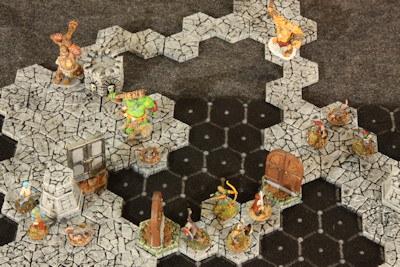
In this photo our adventurers have entered some ancient caverns. At the bottom of the photo, the party is blocked by two locked doors.
If the party heads west, they encounter some plague rats and zombies. If the party heads east, they encounter more rats and some goblins.
In either case, three ogres await them to the north.
The black hexes in the center represent magical darkness which reduces visibility to one hex.
In this section I describe how I made a wood spray paint template for painting the felt hex mats. You can buy hex mats commercially, but often you need a pattern, color, or size that is not available. My DIY recipe here is rather cheap, simple, and not time consuming.
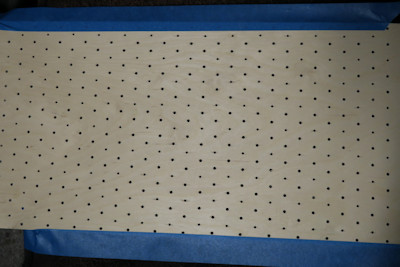
- Shown in this photo is a 2 foot by 1 foot by 1/8 inch (3 mm) thick basswood plywood board from MidWest Products. Cost $12 on Amazon.
- I printed an 11 by 8.5 inch hex paper template at Incompetech. My dungeon scenery tiles are 1.5 by 1.5 inches from flat to flat, so this hex paper matches that.
- Apply paper template to basswood. Use an awl to mark hex corners and/or centers. Move the template as needed. Time cost 1 hour.
- Use a drill to open corners and/or centers on the wood sheet from your awl markings. I used a 1/8" drill bit for the hex center holes, and 3/16" for the hex corners. Time cost 2 hours.
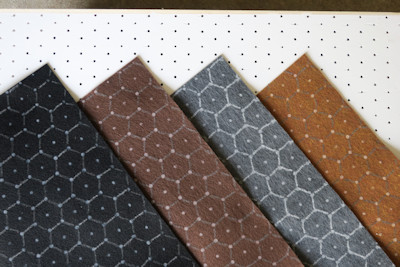
- I bought 2 foot by 1 foot felt sheets from Michaels at $2 each.
From the photos you see I bought four colors. Total cost $8.
Tightly sandwich the felt between the stencil and a backing board and spray with whatever color you want for your hex center and corner markings. Any gap between the template and the felt might lead to fuzzy looking markings.
Move the template and repeat spraying if your felt is larger than your template.
- Use a Sharpie paint marker and hand draw in the hex sides. I found that silver, black, and white make good hex sides. Cost about $3 per marker.
I found that hand-drawing the hex sides was simpler than cutting slots in the template. However, if you have access to a laser cutter (such as a Maker-Space or Thinkery), you can probably use that to skip many steps in this article.
There you have it. These felts can represent fields, larger dungeon rooms, or simply a background to keep scenery properly spaced.
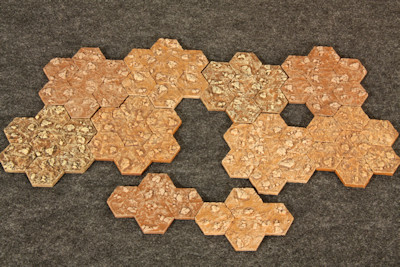
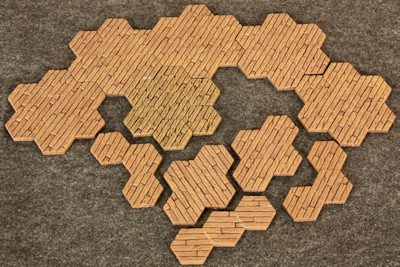
In addition my earlier Hirst Arts Hex Tiles and Scenery article, I now show off some new tiles.
These wooden board hex tiles are from Hirst Arts Mold #179 1.5" Hex Wood and Stone. They are great for making building floors
Because I will be using these tiles with Steve Jackson The Fantasy Trip rules, most of the tiles are glued together into 7 hex megahexes. There are a few smaller tile arrangements at the bottom. These are great for small corridors and hallways.
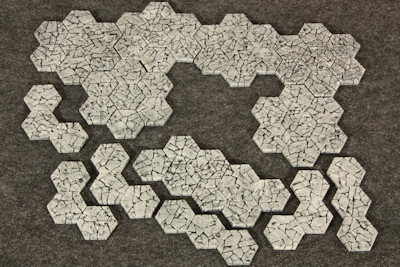
These stone floor hex tiles are also from Hirst Arts Mold #179 1.5" Hex Wood and Stone. They are great for making dungeon floors
The tiles are painted with inexpensive Liquitex Basics paints. The Basics paint line is less expensive than model paint such as Vallejo, but the coverage of basics is not as good. It is good enough for terrain.
Six megahexes are shown on top. Smaller corridor lengths are shown on bottom
Here are some earth hex tiles.
I doubled the amount of tiles from the earlier article, as I needed more terrain for some of the Fantasy Trip adventures.
You can also see some variation in my painting as I was not quite sure if I wanted a chocolate or burnt sienna brown backdrop. No problem, I am not a stickler for consistency.
